7 Tools to Help You Build Collections for Students

How do you share resources with students? This year a lot of my work with educators has focused on finding and sharing the best resources with their students in their classrooms. We’ve worked together to explore different aspects of curation, including how to create collections for students. My interest in curation shouldn’t be too much of a surprise. As a blogger celebrating ten years of ClassTechTips this year, I love picking out and sharing favorite resources for educators.
Sharing “Just Right” Resources

One of the topics that has been highly requested for workshops and presentations is curation in the classroom. And I dedicated an entire chapter of my book EdTech Essentials, to this topic, too. Here’s a quick excerpt:
“Selecting “just right” resources for students is an essential practice for educators to help make sure the needs of all students are addressed. As you select resources for an entire class, for small groups of students, or for individuals, you have an opportunity to place relevant, even personalized resources in their hands. This curation is essential because it tunes out the noise generated by a long list of materials and narrows the focus for students. Instead of sharing a long list of resources or sending them to a search engine, you can share resources—videos, articles, short text items, tutorials, and more—chosen strategically to address the specific student needs you have identified.” (p. 17-18)
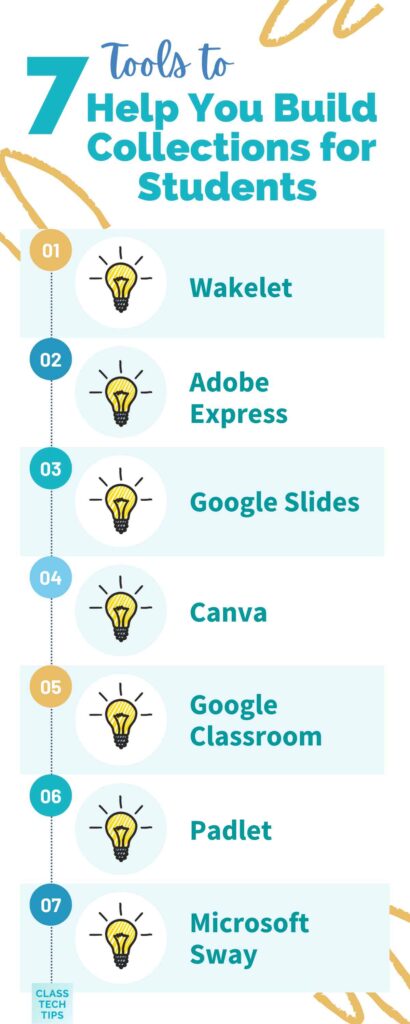
Today on the blog, we’ll focus on what happens after you find the very best resources to share with students. I have seven tools to recommend that can help you build collections for your students. So if you have ten great resources on endangered species to share with your fourth graders or a dozen tutorial videos to share with your eleventh graders, and want to keep them organized — you’ve come to the right place!
Tools to Help Build Collections for Students
The tools on this list are excellent for many reasons, and building a collection of classroom resources is just one of many ways you can use these tools. In the list below, I’ll share a few reasons why one might be a better fit for you than another. And I’ll include a few additional resources in case you want to dive in a bit deeper.
Wakelet
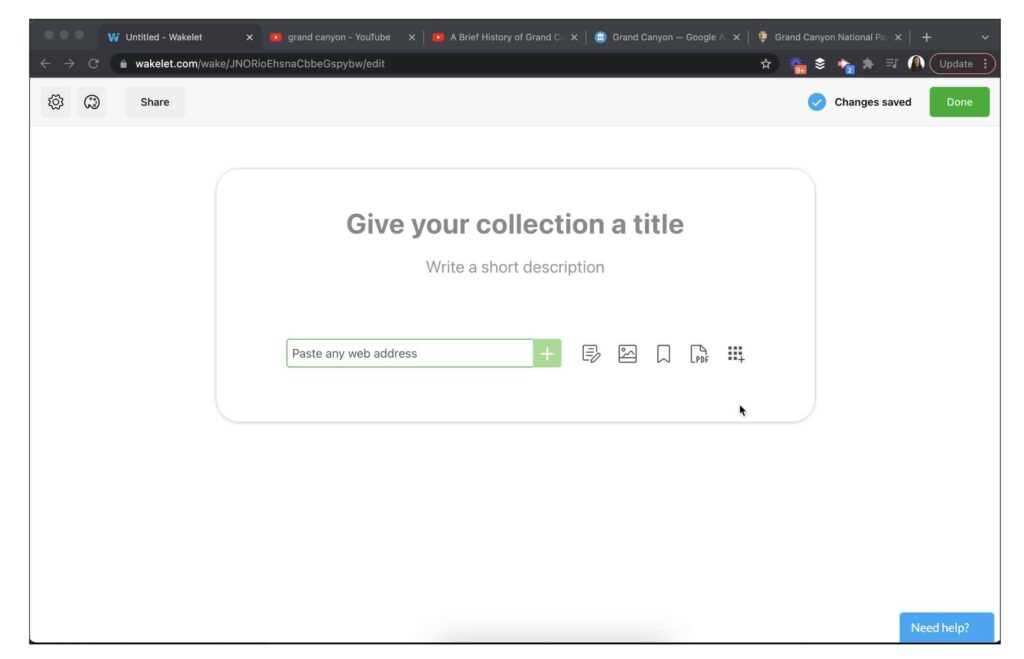
I love how easy Wakelet makes it to create a collection with a handful of different resources. You can add links to favorite YouTube videos, podcast episodes, or any content hosted online. If you have a great PDF to share, Wakelet gives you the option to upload that, too.
It’s a great choice if you want to collaborate with your colleagues on a collection. You can invite fellow educators teaching the same subject by sharing a special code or through an email invitation.
Extra resource: I hosted a presentation for Wakelet earlier this year, all about curation in the classroom.

Adobe Express
Regular readers of the blog know that Adobe Express (formerly Adobe Spark) is a longtime favorite of mine. Express has an option for building pages perfect for sharing links with students using the button feature. You can add a sentence or paragraph next to each resource with more information or an action item for students.
It’s a great choice if you want to try out a tool you will share with students later to make their own creations. You can also easily access photographs to add to your page to complement the resources you share with students.
Extra resource: A post from the archives all about using Spark (now Express) for building collections.
Learn more about curation strategies in my book EdTech Essentials >>
Google Slides
You can use this familiar and flexible tool to share a collection of resources with students. Google Slides gives you plenty of options for organizing ideas and resources. By adding a hyperlink to each slide, you can build out a presentation deck full of resources for students to easily access or save to their Google Drive to access later.
It’s a great choice if you want to make a collection that students can copy and annotate. For example, you might make a slide deck with resources and encourage students to add their own notes or resources.
Extra resource: Here’s another blog post with, “9 Reasons Why I Love Google Slides (And You Should, Too).”
Canva
One of my favorite features in Canva is one that doesn’t get a lot of attention. Canva lets you build a website, making it an excellent option for creating a page full of resources you’d like to share with students. You can use one of their templates and add pictures and links to your website.
It’s a great choice if you want to make a collection of resources your students might access on a mobile device. The website you build with Canva is mobile-friendly.
Extra resource: Canva’s YouTube channel is full of great tutorials and shows off all the things you can do with this tool.
Google Classroom
A phrase I use all the time is “embrace your place.” If you already use a Learning Management System, stick with it – or at least choose new tools compatible with that space. If you’re already using Google Classroom, you can create a collection in the Materials section.
It’s a great choice if your students are already familiar with Google Classroom and you don’t want to introduce a new tool or resource to them.
Extra resource: Google Classroom has new add-ons, including one featuring Adobe Express (mentioned earlier).

Padlet
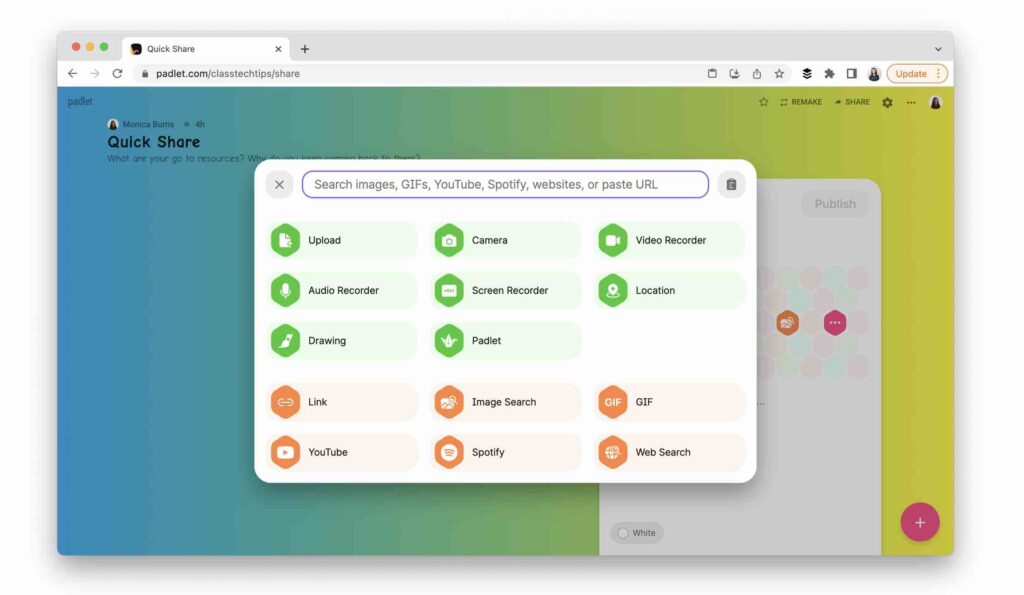
If you’ve attended a presentation with me this year, you’ve probably tried out Padlet. It’s one of my favorite collaborative tools, and I had the chance to meet some people from their team after I mentioned them in my curation session at ISTE this June. Padlet lets you (and collaborators if you invite them in) organize and share online resources.
It’s a great choice if you want to share resources in a particular format, like on a map or on a timeline.
Extra resource: This is also a tool to share student work with an audience.
Take a look at my calendar of upcoming events >>
MS Sway
MS Sway doesn’t get as much attention as other Microsoft tools like PowerPoint and Excel. With Sway, you can build a page full of resources to publish and share with students. This can include a selection of images, links to other online resources, or additional information that goes along with a link to an article or podcast episode you want to share with them.
It’s a great choice if you are already using Office 365. You can make a collection with MS Sway as a project exemplar for students, too.
Extra resource: I have a page full of Microsoft-related resources on the blog for you to explore.
As I mentioned at the top of the article, we curate student resources for many different reasons. If you are building a collection of resources around a topic or upcoming unit, try out one of these tools to make it easy for students to find everything they need. Do you have a favorite tool I didn’t include on the list? Share your favorites on Instagram and Twitter, and make sure to tag me @ClassTechTips!

